So here were some things I ticked off my to-do list this weekend:
Making a Moby wrap
A Moby wrap is the name of a particular brand of this product (think how we say "Kleenex" to mean "tissue," even when it's Puffs). The wrap is a long piece of cloth that is used to carry baby around in so baby feels close, snug, and secure and Mama has her hands free so she can get some things done! Moby wraps are ridiculously expensive in the stores ($45-65 per wrap), and a friend of mine had made her own using fabric from Jo-Ann's. And you know what? For about $30 and an hour of my time, I now have TWO, count them, TWO wraps.
The wraps were incredibly easy to make. I bought some 60" knit fabric from Jo-Ann's that had a little bit of stretch to it. I purchased a little over 6 yards, even though I knew I would only use 5 to 5 1/2 yards of it, so now I've got some scraps to work with, too :-)
I then pinned the two halves together, which took a while since it was so long.

 |
| I just love this picture...the rolling mountains of fabric! |
I measured 5 1/2 yards out and cut width wise. Then I cut the piece of cloth lengthwise. Look how long it is!

Now, I had heard that you could make this a no-sew project. I was honestly a bit skeptical and was convinced I'd have to zig zag around the outside. But you know what? The fabric curls beautifully along the edges, so guess who didn't have to sew a thing? This gal!
 |
| Can you see it curl on the side? Curling = no sew |
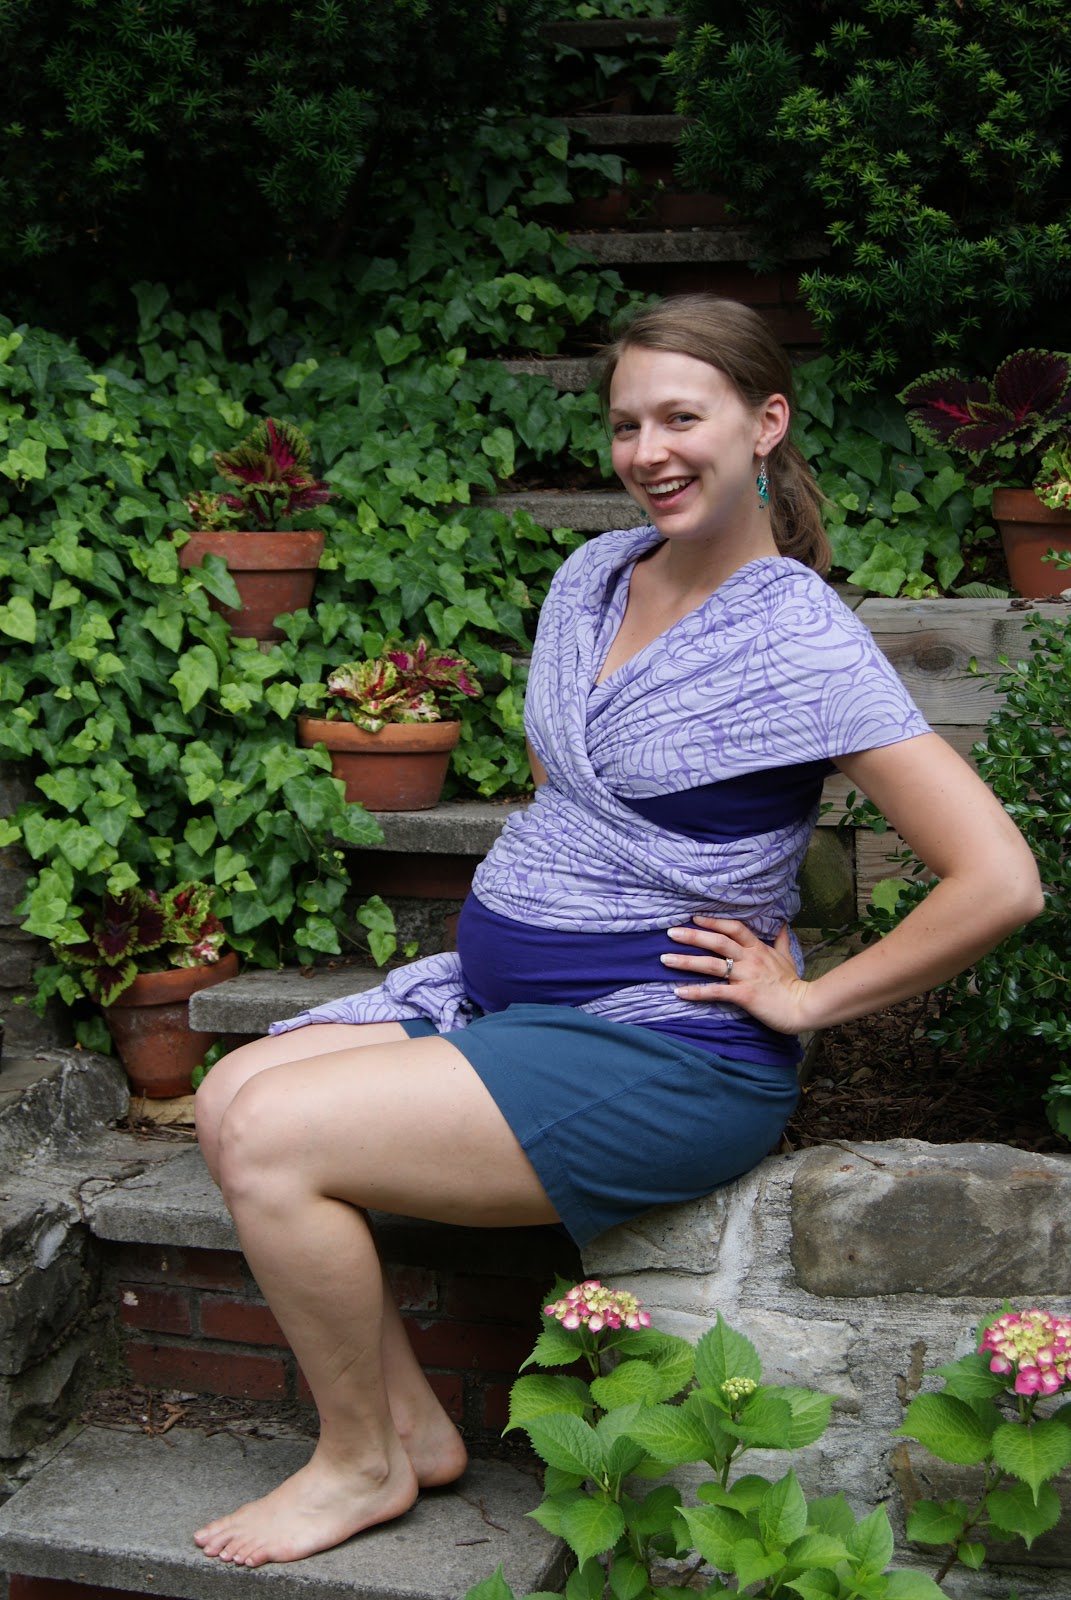
And here's me modeling the wrap. It looks silly because a) I'm still pregnant, and b) there's no baby in it, but you get the general idea. And of course the wrap does not have nice finished edges or a center panel like the Moby, but I'll take this any day!
Nursery Artwork
When Jake and I first unveiled the nursery on the blog, you may recall that we had purchased wall decals from the set we really liked and had begun decorating with them. The only problem was that we couldn't put them directly on the wall because the blue in decals was too close to the blue on the walls and just blended right in.
What to do, what to do? We decided they would look really pretty on some plain white canvases with white mats. So we caught an awesome sale at a local art store, bought the supplies, and away we went!
I unfortunately don't have any pics of the process as it was done in many stages over many weeks, but it, too, was incredibly easy.
1. Buy supplies.
2. Put decals on canvas.
3. Hot glue and tape canvas and mat together.
4. Hot glue and tape ribbon onto the back of the project.
And done!! For under $10, we have 3 great pieces of artwork to hang in the nursery. Here's what they look like. Hopefully we'll get them up on the wall soon!


Yay for checking things off the list! And yay for the Moby and art- it all looks awesome! It feels very gratifying as we're getting things done also... it's getting so close!! Woohoo! And yes, I am free tomorrow night- would love to catch up!
ReplyDelete