There's only one Earth. And I'm committed to keeping it as healthy as possible for my children and all future generation. Here's what I did on Earth Day to do my small part. I made things from old t-shirts and scrap fabric. It's recycling, reducing, and reusing all at the same time, plus loads of fun!
I had stumbled across this awesome tutorial for making tote bags from t-shirts. And it was as easy as pie. Or, since I don't think pie is that easy to make, let's go with "easy as cupcakes" instead.
First, lay your old shirt flat. Then cut off the arms, making sure to leave the seams. I made the mistake the first time of laying it flat and cutting straight across through two layers--and ended up cutting the seam off on one side. My advice: cut around the arm near the seam for a flawless look! Leaving the seams in help reinforce the bag's strength.
After you've cut both arms off, place a dinner place halfway down the top over the collar, trace, and cut out.
Then, flip the shirt inside out. Pin the bottom of the shirt together, and zig-zag stitch TWO times across the bottom directly on the seam that's already there.
I then added what the tutorial called "gussets" to give the bag some depth. I'm not really sure if I did it right. In fact, I'm pretty sure I didn't. But whatever! I just zig-zagged an inch or so up the side of the bags at a right angle to the corner, and it seems to have worked!
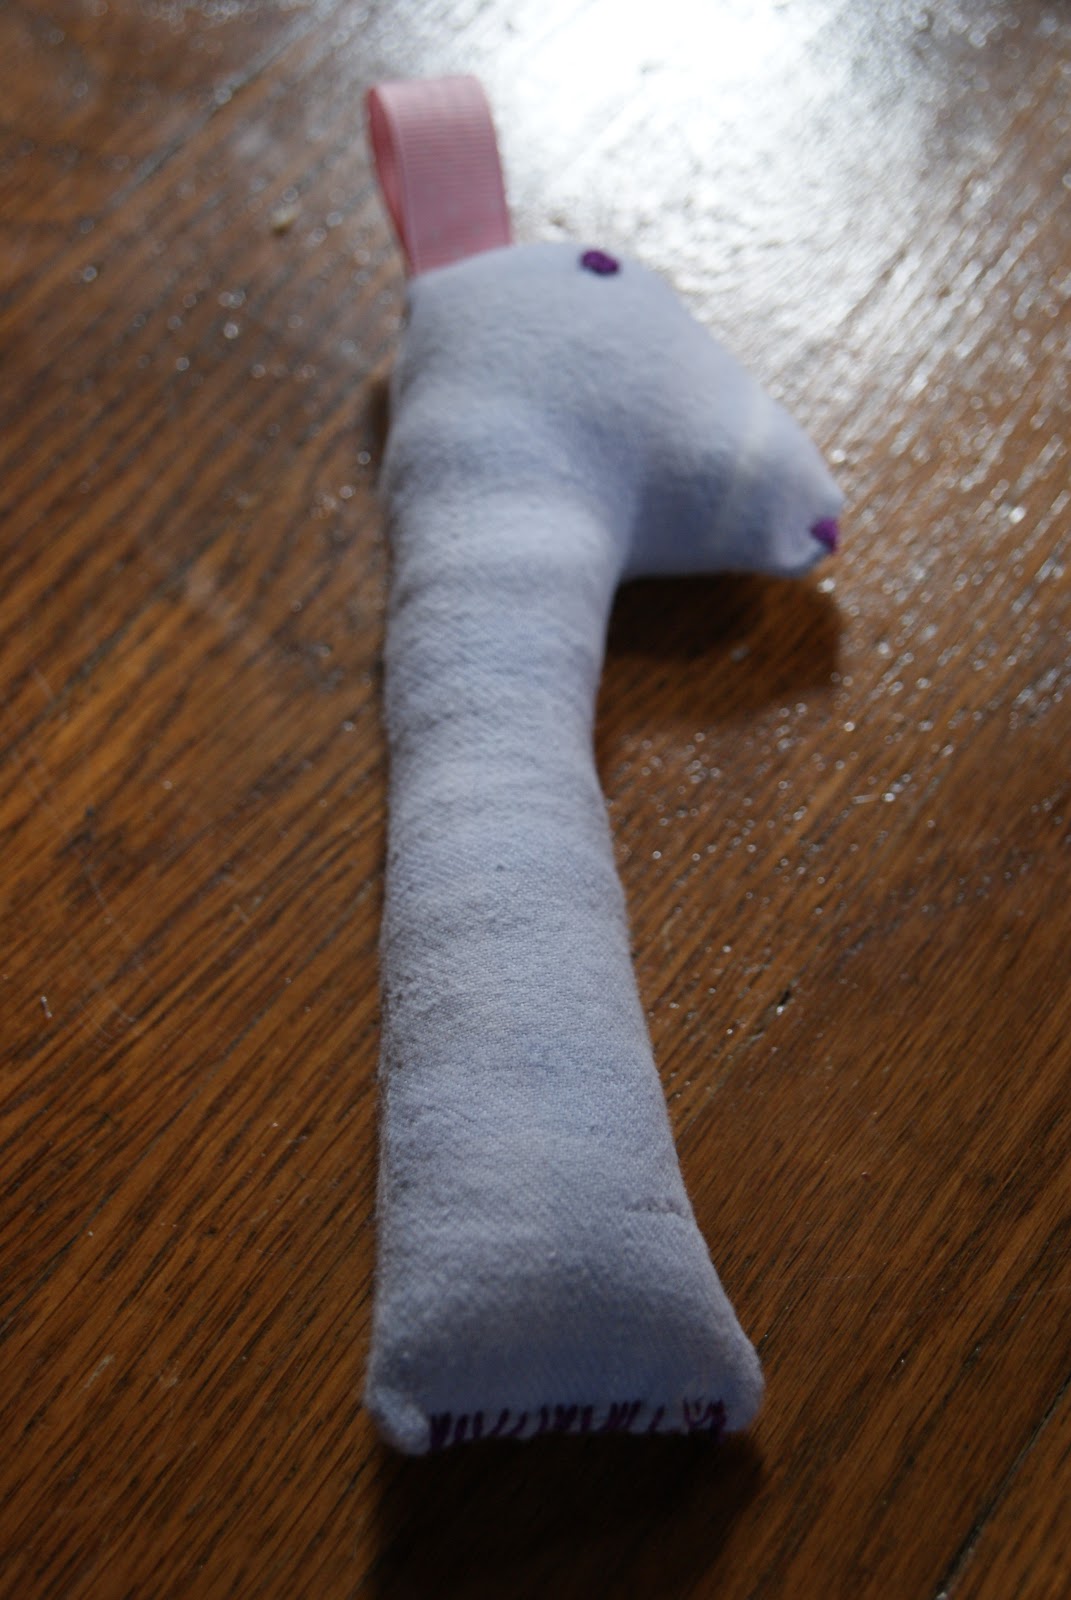
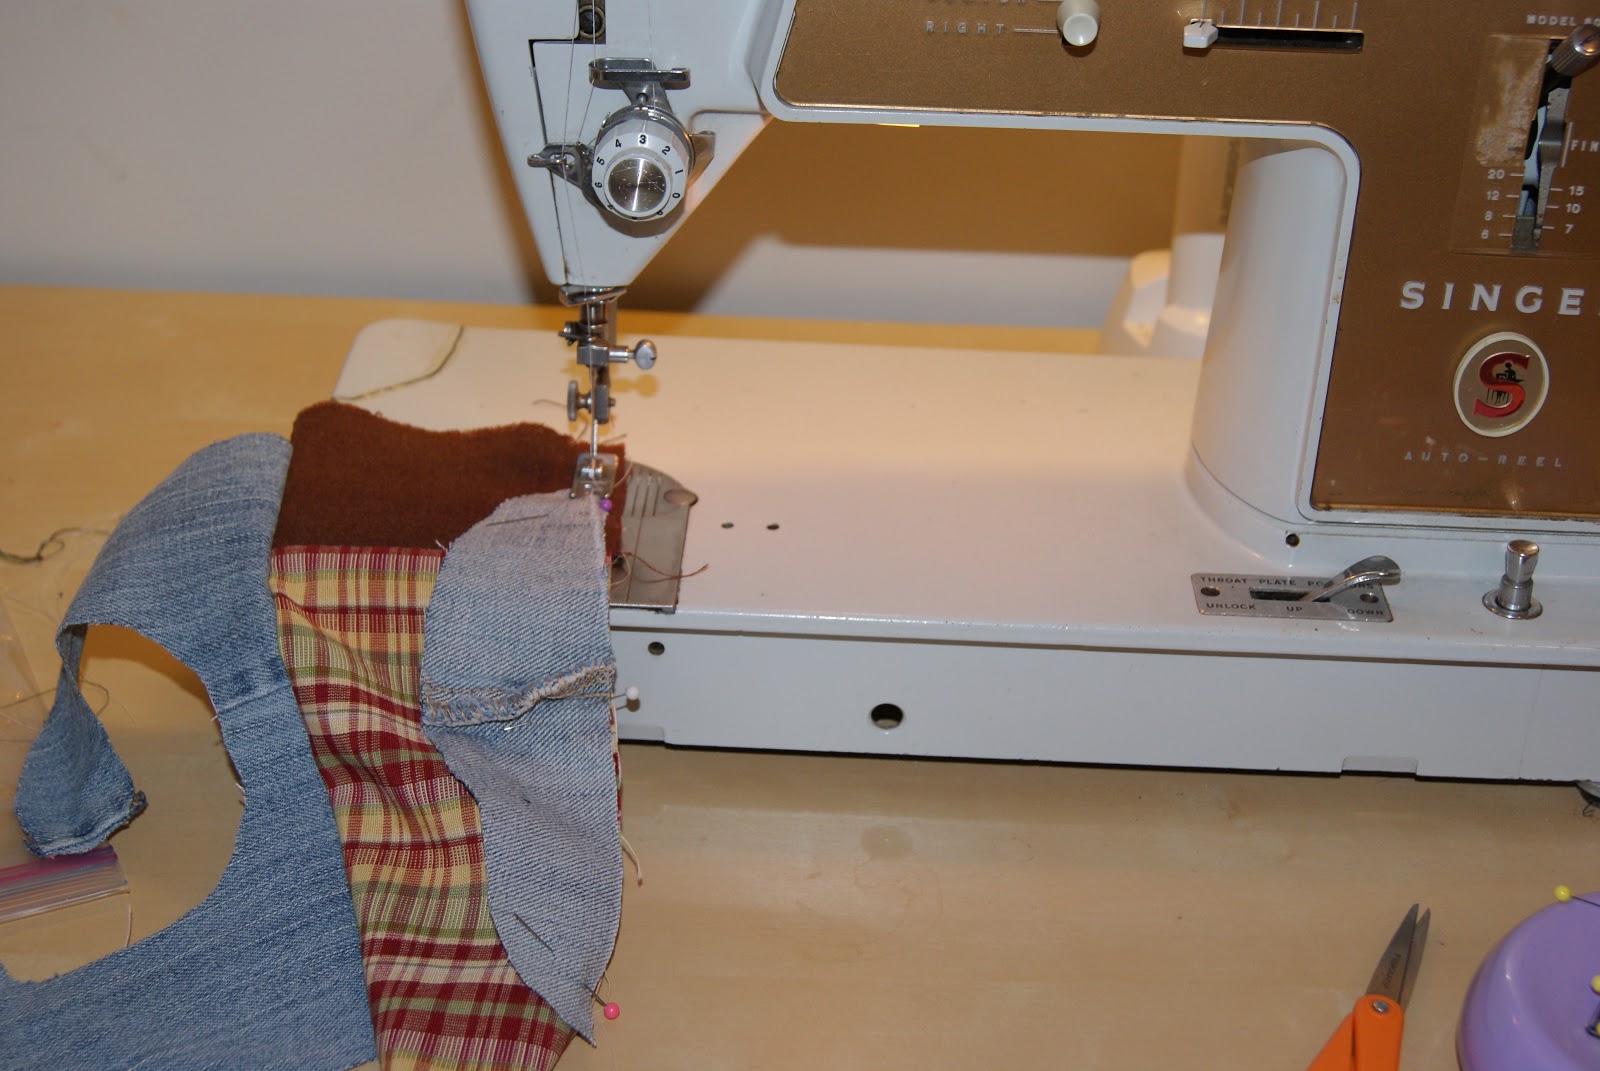
I also worked on some nursing pads for when the baby comes and I start breastfeeding. They were made out of layers of fleece and soft denim (a favorite, very worn old pair of jeans). I just used my circular magnetic pin holder as the template.
And made a few bibs, too, while I was at it.
Let me just say that the aforementioned favorite old pair of jeans has been incorporated into 4 bibs, 10 nursing pads, and 3 velcro pouches for the diaper bag (you can see the "pocket pouches" made out of the back pockets in the back of the nursing pad photo). It's amazing how much I managed to get out of a single pair of jeans. Think about the possibilities for all sorts of other things!
Happy Earth Day everyone!
Showing posts with label Sewing. Show all posts
Friday, April 22, 2011
Monday, April 4, 2011
Sewing Storm
I've been in a bit of a sewing storm recently. Partly because I have a whole stash of fabric to use up, partly because I'm just itching to make things for Baby Melbs. Here are two recent projects. Both patterns are once again from Simple Sewing for Baby: 24 Easy Projects for Newborns to Toddlers by Lotta Jansdotter. Because I really think you should check out the book (and that little thing called copyright), I'm not going step by step. I'm just including a few pics of the process and finished project.
Soft Rattles
These were made out of old pajama pants of mine that were sooooo comfy, but the elastic had worn out. They were the softest flannel ever, and I couldn't bear to part with them. So here they are, become toys for my sweet baby girl. They have bells in them that jingle softly, too. Here's to hoping she likes them!
Changing Pad for Diaper Bag
*Caveat: this is my first time ever working with batting. It was interesting and definitely a learning experience. The great thing about it is that it's very forgiving, and the bad thing is it's very forgiving. It has a lot of flexibility in it! Also, I can't cut out a square piece of fabric for the life of me. I try my best, but it's never square! If anyone knows any tricks, please pass on!
Soft Rattles
These were made out of old pajama pants of mine that were sooooo comfy, but the elastic had worn out. They were the softest flannel ever, and I couldn't bear to part with them. So here they are, become toys for my sweet baby girl. They have bells in them that jingle softly, too. Here's to hoping she likes them!
The cut-out pattern. I've already embroidered the eyes and am getting ready to seam it. |
Finished product! |
And her friend with green ears and yellow eyes and nose that made to go with her :-) |
Changing Pad for Diaper Bag
*Caveat: this is my first time ever working with batting. It was interesting and definitely a learning experience. The great thing about it is that it's very forgiving, and the bad thing is it's very forgiving. It has a lot of flexibility in it! Also, I can't cut out a square piece of fabric for the life of me. I try my best, but it's never square! If anyone knows any tricks, please pass on!
My attempt at creating a "square" corner. |
The outer fabric, batting, and lightweight cotton all set to go. |
You can just barely see the quilting lines I've marked on here. |
Here's my first ever attempt at quilting. Following the straight lines was really cathartic! |
The velcro strap I made with two pieces of Velcro and grosgrain ribbon. |
Starting to sew it all together... |
Finished inside. What Baby Melbs will lay on. And yes, I'm aware that this is white. Not the best choice, but it's what I had lying around! |
Ready to be folded... |
Voila! Diaper changing pad complete. And it fits perfectly into my diaper bag :-) |
Wednesday, March 30, 2011
A Baby Bib
I had some free time tonight (it's amazing what only working one job will do for that!!!). So I decided to make a bib. Out of recycled materials. Yes, I'm just that crunchy ;-)
A while back when I was looking online for patterns and tutorials, I found this great tutorial for making a recycled bib posted by Linda Permann at CraftStylish.com. I decided to give it a try. With the overabundance of scrap jeans and other various fabrics lying around, it's not like I had anything to lose.
Here's the process:
1. Print off pattern from the tutorial. Add a 2 inch section of paper where it says. Fold fabric in half. Place pattern on fold, pin, and cut. Make two of these. I used one jean side and one green microfleece side.
2. To make the patchwork part, measure 2 inches and 5 1/2 inches from bottom of bib. Draw a straight line across with tailor's chalk and cut out. Next, make a 4 inch by 10 1/2 inch strip of cloth (can be all one piece or many pieces put together to measure this). Sew patchwork pieces together using 1/4 inch seam allowance and press open seams.
3. Next sew the patchwork strip to the long ends of the bib, making sure right sides are facing each other. Press seams down when finished. Trim off any excess patchwork fabric to shape the bib.
4. With right sides facing each other, pin the bib sides together. Sew a 1/4 inch seam around the edge, leaving about 2 inches on the bottom open to turn the bib inside out. Once finished, trim off excess fabric in the corners and turn inside out, using a "point turner" (aka the eraser end of a pencil for those of us too cheap to purchase one) to get into corners. Press down entire bib and fold under the open part at the bottom 1/2 inch; press. Top stitch around entire edge of bib and around patchwork parts. And....
Voila! Bib is...
almost done. Just need to buy the snaps. But it's pretty cute, eh? It looks a bit small, but I'm not an expert yet. I might enlargen the pattern a bit next time, though, to get a range of bibs going in my stash.
Jake even had to try it out. Here he is pretending to cry while wearing it.
And lastly, here's updated bump pics for all those keeping track! Week 23!
Sunday, March 13, 2011
The Halfway Mark
20 weeks--
The Halfway Mark--
Celebrated with a 1/2 pint of Ben & Jerry's Vanilla Ice Cream. And only a 1/2 pint because I devoured the first half a few nights earlier.
Where has the time gone? How much can I possibly get done in the next 20 weeks before Baby Melbs arrives?
So The Halfway Mark kicked me into gear this weekend. I embarked upon my first baby-related sewing adventure: a breastfeeding pillow. I forgot to capture photos of the patterning, cutting, and sewing, but here's me stuffing it...
And the (nearly) finished pillow (I need more stuffing...it took two bags of polyfill and I'm still not done!)
As Jake said, it looks a bit lumpy in places, but hey--it works for me :-) The pattern is from a wonderfully awesome book I borrowed from the library, Simple Sewing for Baby: 24 Easy Projects for Newborns to Toddlers by Lotta Jansdotter. Check it out--it's genius! I plan on making many many more things from this book in the near future!
The Halfway Mark--
Beau really wanted his picture taken, too. Can't ya tell? |
Celebrated with a 1/2 pint of Ben & Jerry's Vanilla Ice Cream. And only a 1/2 pint because I devoured the first half a few nights earlier.
Where has the time gone? How much can I possibly get done in the next 20 weeks before Baby Melbs arrives?
So The Halfway Mark kicked me into gear this weekend. I embarked upon my first baby-related sewing adventure: a breastfeeding pillow. I forgot to capture photos of the patterning, cutting, and sewing, but here's me stuffing it...
And the (nearly) finished pillow (I need more stuffing...it took two bags of polyfill and I'm still not done!)
As Jake said, it looks a bit lumpy in places, but hey--it works for me :-) The pattern is from a wonderfully awesome book I borrowed from the library, Simple Sewing for Baby: 24 Easy Projects for Newborns to Toddlers by Lotta Jansdotter. Check it out--it's genius! I plan on making many many more things from this book in the near future!
Tuesday, October 26, 2010
Getting my creativity ON!
I've been holed up in my house recently working on getting my props and displays reading for my early childhood story-times and mini residencies with Gateway to the Arts. I had my first story-time today on Fletcher The Fox and the Falling Leaves by Julia Rawlinson, illustrated by Tiphanie Beeke.
Here's what I made for it:
Monday, October 11, 2010
Domestic Goddess
I am proud to say that over the last few weeks, I've been a bit of a Domestic Goddess. I had the loftiest of intentions back in August, looking forward fondly to the days when I could work at home--both for my "jobs" and for general homemaking--and then frankly failing miserably at my goals in September (see previous post for why the failure happened--too much going on!).
But now, I feel like I can breathe. I'm starting to get into a groove, and while I know there will be hectic times in the (unfortunately all too near) future, I've at least begun somewhere.
So what does it mean to be a Domestic Goddess (DG), you wonder? I suspect that DG's are homebodies. DG's take pride in doing things around the house, as menial as they sometimes are. DG's probably have a to do list that they relish ticking off items from as the day progresses. DG's find ways to save money, to maximum time, and to take a deep breath all in the matter of a moment. They prioritize. They create. They feel joy.
And thus, given that I fit this description to a T (surprise surprise--I created it!), I really love my life right now. My real jobs are going great, but being a DG is enlightening. Here's a few things of what I've been up to:
1. Making homemade yogurt (next time when my camera doesn't decide to die on me I promise to document the whole process and post about it). I used the directions on this page, www.makeyourownyogurt.com/. They have a wonderful pdf with pictures that explain how to make yogurt with a HEATING PAD! How cool is that? And it works!
2. Baking pumpkin and roasting pumpkin seeds
3. Made a reusable grocery bag out of recycled jeans and the leather backing from a belt that came off recently. I love having scrap fabric and a sewing machine :-)
Sorry for the pictures being sideways, but you get the idea.
4. Baking bread--and failing. Not quite sure why. I'm following the directions in the book. I'm "cloaking the loaf" for a good minute (and no, it's not nearly as dirty as it sounds). But then it always blows out the bottom (seriously, get your mind out of the gutter). I think I *gasp* need my husband's help on this one. He really is the baker in this household. Perhaps someday my bread won't look like this...
But now, I feel like I can breathe. I'm starting to get into a groove, and while I know there will be hectic times in the (unfortunately all too near) future, I've at least begun somewhere.
So what does it mean to be a Domestic Goddess (DG), you wonder? I suspect that DG's are homebodies. DG's take pride in doing things around the house, as menial as they sometimes are. DG's probably have a to do list that they relish ticking off items from as the day progresses. DG's find ways to save money, to maximum time, and to take a deep breath all in the matter of a moment. They prioritize. They create. They feel joy.
And thus, given that I fit this description to a T (surprise surprise--I created it!), I really love my life right now. My real jobs are going great, but being a DG is enlightening. Here's a few things of what I've been up to:
1. Making homemade yogurt (next time when my camera doesn't decide to die on me I promise to document the whole process and post about it). I used the directions on this page, www.makeyourownyogurt.com/. They have a wonderful pdf with pictures that explain how to make yogurt with a HEATING PAD! How cool is that? And it works!
Heat milk to 185 degrees, preferably in a double boiler to prevent scorching. Stir often! |
Put the pot of milk into an ice bath, cooling to 110 degrees. At this temperature, "pitch" your yogurt by adding your starter--2-3 Tbls. of PLAIN yogurt. |
Plug in your heating pad on medium, cover it with a towel, and set on a cutting board. |
Place your pot of milk on the heating pad, cover with towels, and wait 7 hours. At that time, spoon into containers (it will be runnier than store bought yogurt) and put in the refrigerator to cool and set up. |
Baked pumpkin for a Pumpkin, Barley, and Sage Soup (it was DELICIOUS!). You can find the recipe in the October edition of Better Home and Gardens magazine, or on their website at www.bhg.com. |
But I couldn't let those seeds go to waste! I found a new recipe at Simply Recipes, and it was the best recipe I've ever used for pumpkin seeds! Definitely recommend it. |
Sorry for the pictures being sideways, but you get the idea.
4. Baking bread--and failing. Not quite sure why. I'm following the directions in the book. I'm "cloaking the loaf" for a good minute (and no, it's not nearly as dirty as it sounds). But then it always blows out the bottom (seriously, get your mind out of the gutter). I think I *gasp* need my husband's help on this one. He really is the baker in this household. Perhaps someday my bread won't look like this...
Subscribe to:
Posts (Atom)